Understanding the Role of Garage Door Cables
Before we dive into the how-to's, let's first understand why garage door cables are important. Garage door cables play a vital role in the overall operation of your garage door. They work in tandem with the springs to lift and lower the door safely and smoothly. When they break or become damaged, your garage door may not function correctly or could even become a safety risk. Therefore, knowing how to repair a garage door cable can be an essential skill for any homeowner.
Identifying the Problem
Identifying the problem is the first step in repairing a garage door cable. You'll need to determine whether the cable is broken, frayed, or has simply slipped off its drum. This will dictate the approach you'll need to take in repairing it. Signs of a cable problem can include a garage door that won't open or close properly, a hanging cable, or a door that's off its tracks.
Acquiring the Necessary Tools
Before you begin the repair, you'll need to gather some tools. These might include a set of winding bars, a pair of vise grips, an adjustable wrench, a flathead screwdriver, and of course, a replacement cable if necessary. Remember, it's essential to use the right tools for the job to prevent further damage and ensure your safety.
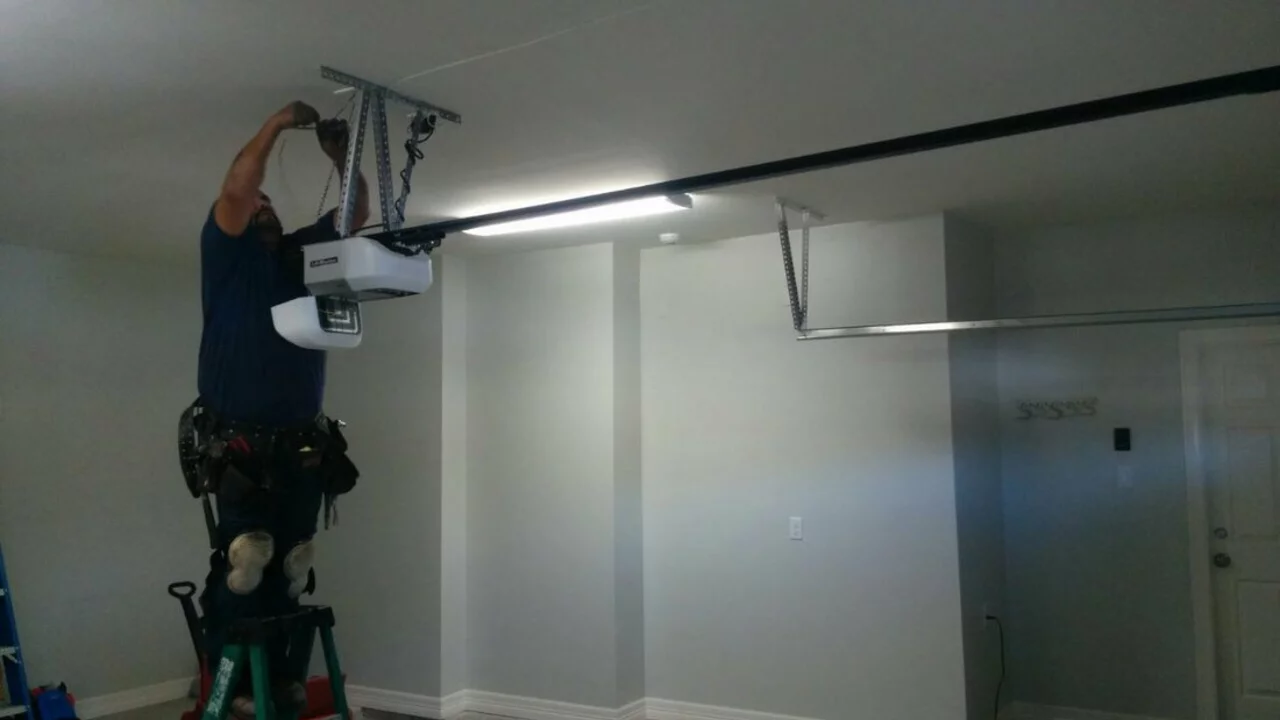
Securing the Garage Door
Before you begin working on your garage door cable, it's crucial to ensure the door is secured. This is to prevent the door from falling or moving while you're working on it. You can do this by clamping a pair of vise grips on the track under the bottom roller or by using a C-clamp.
Loosening the Broken Cable
If your cable is still attached, you'll need to loosen it. This can typically be done by loosening the set screws on the drum with your adjustable wrench. Once the screws are loose, you can slide the cable off the drum.
Installing the New Cable
With the old cable removed, you can now install the new one. Thread the new cable onto the drum, making sure it's seated in the grooves correctly. Then, tighten the set screws again to secure the cable in place.
Re-tensioning the Spring
With the new cable installed, you'll need to re-tension the spring. This can be a tricky process, so it's important to be careful. Using your winding bars, gradually wind the spring until the tension is correct. You'll know the tension is right when the garage door can stay open on its own without dropping.
Testing the Door
Once you've installed the new cable and re-tensioned the spring, it's time to test the door. Open and close the door a few times to make sure it's working smoothly and that the cable is doing its job. If the door is still not operating correctly, you may need to adjust the cable or spring tension further.
Knowing When to Call a Professional
While many homeowners are capable of repairing a garage door cable on their own, it's important to know when to call a professional. If you're not comfortable performing the repair, or if the problem persists after your repair attempt, don't hesitate to call a professional. Attempting to fix a garage door cable without the necessary skills or knowledge can lead to further damage or potential injury.
Maintaining Your Garage Door Cables
Lastly, keeping your garage door cables in good shape can help prevent future problems. Regularly inspect your cables for signs of wear and tear, and lubricate them with a silicone-based lubricant to keep them operating smoothly. Remember, prevention is often the best approach to avoid the need for repair.